Summary #
Solana has multiple onchain programs you can use. Instructions that use these programs have data in a custom format determined by the specific function being invoked in the onchain program.
Lesson #
Instructions #
In previous chapters, we used:
- The
SystemProgram.transfer()function from@solana/web3.jsto make an instruction for the System program to transfer SOL. - The
mintTo()andtransfer()functions from@solana/spl-token, to make instructions to the Token program to mint and transfer tokens - The
createCreateMetadataAccountV3Instruction()function from@metaplex-foundation/mpl-token-metadata@2to make instructions to Metaplex to create token Metadata.
When working with other programs, however, you’ll need to create instructions
manually. With @solana/web3.js, you can create instructions with the
TransactionInstruction constructor:
const instruction = new TransactionInstruction({
  programId: PublicKey;
  keys: [
    {
      pubkey: Pubkey,
      isSigner: boolean,
      isWritable: boolean,
    },
  ],
  data?: Buffer;
});
TransactionInstruction() takes 3 fields:
-
The
programIdfield is fairly self-explanatory: it’s the public key (also called the 'address' or 'program ID') of the program. -
keysis an array of accounts and how they will be used during the transaction. You need to know the behavior of the program you are calling and ensure that you provide all of the necessary accounts in the array.pubkey- the public key of the accountisSigner- a boolean representing whether or not the account is a signer on the transactionisWritable- a boolean representing whether or not the account is written to during the transaction's execution
-
an optional
Buffercontaining data to pass to the program. We’ll be ignoring thedatafield for now, but we will revisit it in a future lesson.
After making our instruction, we add it to a transaction, send the tramsaction to our RPC to be processed and confirmed, then look at the transaction signature.
const transaction = new web3.Transaction().add(instruction);

const signature = await web3.sendAndConfirmTransaction(
  connection,
  transaction,
  [payer],
);

console.log(`✅ Success! Transaction signature is: ${signature}`);
Solana Explorer #
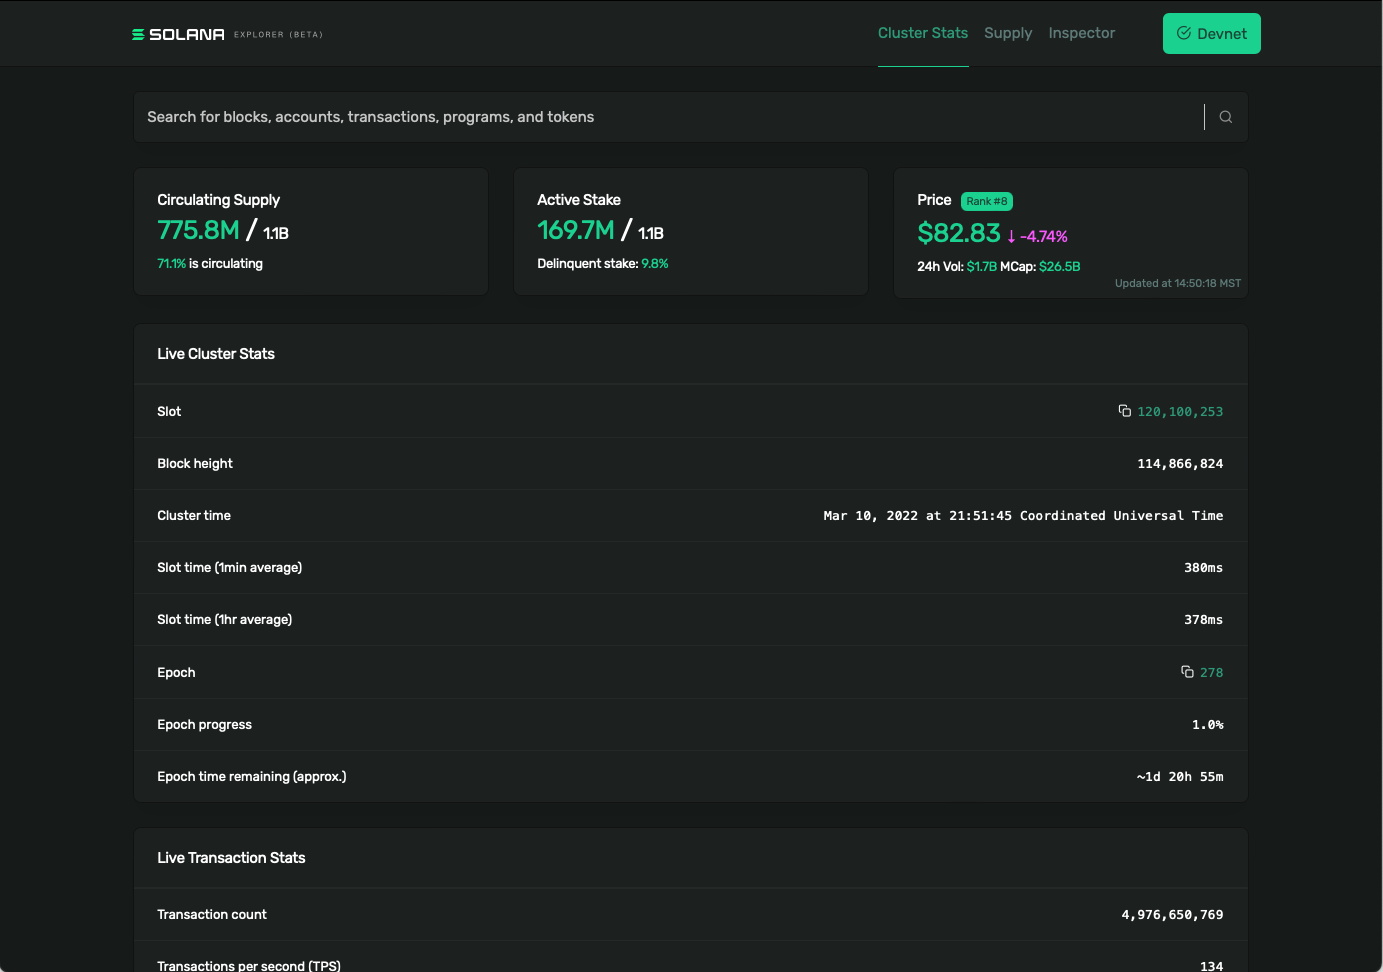 Solana Explorer set to Devnet
All transactions on the blockchain are publicly viewable on
Solana Explorer. For example, you could take the
signature returned by sendAndConfirmTransaction() in the example above, search
for that signature in Solana Explorer, then see:
- when it occurred
- which block it was included in
- the transaction fee
- and more!
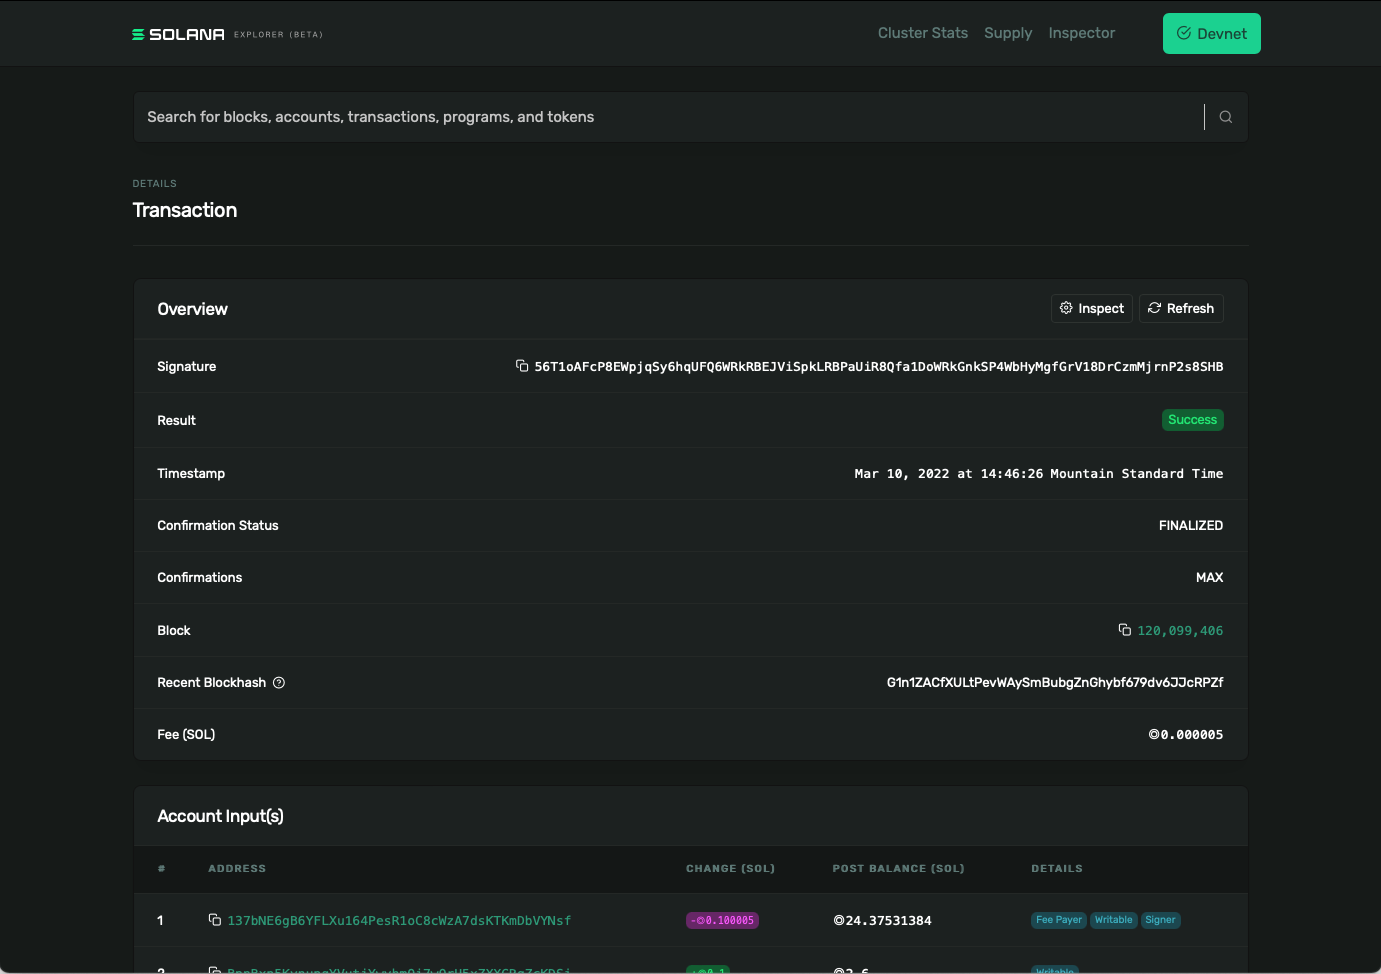 Solana Explorer with details about a transaction
Lab #
Writing transactions for the ping counter program #
We’re going to create a script to ping an onchain program that increments a
counter each time it has been pinged. This program exists on the Solana Devnet
at address ChT1B39WKLS8qUrkLvFDXMhEJ4F1XZzwUNHUt4AU9aVa. The program stores
its data in a specific account at the address
Ah9K7dQ8EHaZqcAsgBW8w37yN2eAy3koFmUn4x3CJtod.
 Solana stores programs and data in separate accounts
Basic scaffolding #
We'll start by using the same packages and .env file we made earlier in
Intro to Writing Data.
Name the file send-ping-transaction.ts:
import * as web3 from "@solana/web3.js";
import "dotenv/config";
import {
  getKeypairFromEnvironment,
  airdropIfRequired,
} from "@solana-developers/helpers";

const payer = getKeypairFromEnvironment("SECRET_KEY");
const connection = new web3.Connection(web3.clusterApiUrl("devnet"));

const newBalance = await airdropIfRequired(
  connection,
  payer.publicKey,
  1 * web3.LAMPORTS_PER_SOL,
  0.5 * web3.LAMPORTS_PER_SOL,
);
This will connect to Solana Devnet and request some test Lamports if needed.
Ping program #
Now let's talk to the Ping program! To do this, we need to:
- create a transaction
- create an instruction
- add the instruction to the transaction
- send the transaction
Remember, the most challenging piece here is including the right information in the instructions. We know the address of the program that we are calling. We also know that the program writes data to a separate account whose address we also have. Let’s add the string versions of both of those as constants at the top of the file:
const PING_PROGRAM_ADDRESS = new web3.PublicKey(
  "ChT1B39WKLS8qUrkLvFDXMhEJ4F1XZzwUNHUt4AU9aVa",
);
const PING_PROGRAM_DATA_ADDRESS = new web3.PublicKey(
  "Ah9K7dQ8EHaZqcAsgBW8w37yN2eAy3koFmUn4x3CJtod",
);
Now let’s create a new transaction, then initialize a PublicKey for the
program account, and another for the data account.
const transaction = new web3.Transaction();
const programId = new web3.PublicKey(PING_PROGRAM_ADDRESS);
const pingProgramDataId = new web3.PublicKey(PING_PROGRAM_DATA_ADDRESS);
Next, let’s create the instruction. Remember, the instruction needs to include the public key for the Ping program and it also needs to include an array with all the accounts that will be read from or written to. In this example program, only the data account referenced above is needed.
const transaction = new web3.Transaction();
const programId = new web3.PublicKey(PING_PROGRAM_ADDRESS);
const pingProgramDataId = new web3.PublicKey(PING_PROGRAM_DATA_ADDRESS);

const instruction = new web3.TransactionInstruction({
  keys: [
    {
      pubkey: pingProgramDataId,
      isSigner: false,
      isWritable: true,
    },
  ],
  programId,
});
Next, let’s add this instruction to the transaction we created. Then, call
sendAndConfirmTransaction() by passing in the connection, transaction, and
payer. Finally, let’s log the result of that function call so we can look it up
on Solana Explorer.
transaction.add(instruction);

const signature = await web3.sendAndConfirmTransaction(
  connection,
  transaction,
  [payer],
);

console.log(`✅ Transaction completed! Signature is ${signature}`);
Run the ping client and check Solana Explorer #
Now run the code with the following command:
npx esrun send-ping-transaction.tsIt may take a moment or two but you should see a long string printed to the console, like the following:
✅ Transaction completed! Signature is 55S47uwMJprFMLhRSewkoUuzUs5V6BpNfRx21MpngRUQG3AswCzCSxvQmS3WEPWDJM7bhHm3bYBrqRshj672cUSGCopy the transaction signature. Then visit
Solana explorer on devnet. Paste
the signature into the search bar at the top of Solana Explorer (make sure
you're connected to Devnet) and hit enter. You should see all the details about
the transaction. If you scroll all the way to the bottom, then you will see
Program Logs, which show how many times the program has been pinged including
your ping.
 Solana Explorer with logs from calling the Ping program
Scroll around the explorer and look at what you're seeing:
- The Account Input(s) will include:
- The address of your payer - being debited 5000 lamports for the transaction
- The program address for the ping program
- The data address for the ping program
- The Instruction section will contain a single instruction with no data - the ping program is a pretty simple program, so it doesn't need any data.
- The Program Instruction Logs show the logs from the ping program.
If you want to make it easier to look at Solana Explorer for transactions in the
future, simply change your console.log to the following:
console.log(
  `You can view your transaction on Solana Explorer at:\nhttps://explorer.solana.com/tx/${signature}?cluster=devnet`,
);
And just like that you’re calling programs on the Solana network and writing data onchain!
In the next few lessons, you’ll learn how to
- Send transactions safely from the browser instead of running a script
- Add custom data to your instructions
- Deserialize data from the chain
Challenge #
Go ahead and create a script from scratch that will allow you to transfer SOL from one account to another on Devnet. Be sure to print out the transaction signature so you can look at it on Solana Explorer.
If you get stuck feel free to glance at the solution code.