Summary #
- Native (non-Anchor) Solana development requires manual serialization and deserialization of data.
- Transactions are made up of an array of instructions, a single transaction can have any number of instructions in it, each targeting different programs. When a transaction is submitted, the Solana runtime will process its instructions in order and atomically, meaning that if any of the instructions fail for any reason, the entire transaction will fail to be processed.
- Every instruction is made up of 3 components: the intended program's ID, an array of all accounts involved, and a byte buffer of instruction data.
- Every transaction contains an array of all accounts it intends to read or write, one or more instructions, a recent blockhash, and one or more signatures.
- To pass instruction data from a client, it must be serialized into a byte buffer. To facilitate this process of serialization, we will be using Borsh.
- Transactions can fail to be processed by the blockchain for any number of reasons, we’ll discuss some of the most common ones here.
Lesson #
Transactions #
This course requires completing Introduction to Solana or equivalent knowledge. It's also aimed at advanced developers that prefer more control over the ease of use and safe defaults Anchor provides. If you're new to developing onchain programs you may prefer Anchor
In Introduction to Solana we learned how to create transactions with instructions for common Solana programs.
This lessons shows how to create instructions for our own native Solana programs, which we will develop in a few lessons. Specifically, we're going to learn about serialization and deserialization, which is requiredfor native (non-Anchor) program development.
Transaction Contents #
Every transaction contains:
- An array that includes every account it intends to read or write
- One or more instructions
- A recent blockhash
- One or more signatures
@solana/web3.js simplifies this process for you so that all you need to focus
on is adding instructions and signatures. The library builds the array of
accounts based on that information and handles the logic for including a recent
blockhash.
Instructions #
Every instruction contains:
- The program ID (public key) of the intended program
- An array listing every account that will be read from or written to during execution
- A byte buffer of instruction data
Identifying the program by its public key ensures that the instruction is carried out by the correct program.
Including an array of every account that will be read from or written to allows the network to perform several optimizations which allow for high transaction load and quicker execution.
The byte buffer lets you pass external data to a program.
You can include multiple instructions in a single transaction. The Solana runtime will process these instructions in order and atomically. In other words, if every instruction succeeds then the transaction as a whole will be successful, but if a single instruction fails then the entire transaction will fail immediately with no side-effects.
The account array is not just an array of the accounts’ public keys. Each object in the array includes the account’s public key, whether or not it is a signer on the transaction, and whether or not it is writable. Including whether or not an account is writable during the execution of an instruction allows the runtime to facilitate parallel processing of smart contracts. Because you must define which accounts are read-only and which you will write to, the runtime can determine which transactions are non-overlapping or read-only and allow them to execute concurrently. To learn more about Solana’s runtime, check out this blog post on Sealevel.
Instruction Data #
The ability to add arbitrary data to an instruction ensures that programs can be dynamic and flexible enough for broad use cases in the same way that the body of an HTTP request lets you build dynamic and flexible REST APIs.
Just as the structure of the body of an HTTP request is dependent on the endpoint you intend to call, the structure of the byte buffer used as instruction data is entirely dependent on the recipient program. If you’re building a full-stack dApp on your own, then you’ll need to copy the same structure that you used when building the program over to the client-side code. If you’re working with another developer who is handling the program development, you can coordinate to ensure matching buffer layouts.
Let’s think about a concrete example. Imagine working on a Web3 game and being responsible for writing client-side code that interacts with a player inventory program. The program was designed to allow the client to:
- Add inventory based on a player’s game-play results
- Transfer inventory from one player to another
- Equip a player with selected inventory items
This program would have been structured such that each of these is encapsulated in its own function.
Each program, however, only has one entry point. You would instruct the program on which of these functions to run through the instruction data.
You would also include in the instruction data any information the function needs to execute properly, e.g. an inventory item’s ID, a player to transfer inventory to, etc.
Exactly how this data would be structured would depend on how the program was written, but it’s common to have the first field in instruction data be a number that the program can map to a function, after which additional fields act as function arguments.
Serialization #
In addition to knowing what information to include in an instruction data buffer, you also need to serialize it properly. The most common serializer used in Solana is Borsh. Per the website:
Borsh stands for Binary Object Representation Serializer for Hashing. It is meant to be used in security-critical projects as it prioritizes consistency, safety, speed; and comes with a strict specification.
Borsh maintains a JS library that handles
serializing common types into a buffer. There are also other packages built on
top of Borsh that try to make this process even easier. We’ll be using the
@coral-xyz/borsh library which can be installed using npm.
Building off of the previous game inventory example, let’s look at a hypothetical scenario where we are instructing the program to equip a player with a given item. Assume the program is designed to accept a buffer that represents a struct with the following properties:
variantis an unsigned, 8-bit integer that instructs the program which instruction, or function, to execute.playerIdis an unsigned, 16-bit integer that represents the player ID of the player who is to be equipped with the given item.itemIdis an unsigned, 256-bit integer that represents the item ID of the item that will be equipped for the given player.
All of this will be passed as a byte buffer that will be read in order, so ensuring proper buffer layout order is crucial. You would create the buffer layout schema or template for the above as follows:
import * as borsh from "@coral-xyz/borsh";

const equipPlayerSchema = borsh.struct([
  borsh.u8("variant"),
  borsh.u16("playerId"),
  borsh.u256("itemId"),
]);
You can then encode data using this schema with the encode method. This method
accepts as arguments an object representing the data to be serialized and a
buffer. In the below example, we allocate a new buffer that’s much larger than
needed, then encode the data into that buffer and slice the original buffer down
into a new buffer that’s only as large as needed.
import * as borsh from "@coral-xyz/borsh";

const equipPlayerSchema = borsh.struct([
  borsh.u8("variant"),
  borsh.u16("playerId"),
  borsh.u256("itemId"),
]);

const buffer = Buffer.alloc(1000);
equipPlayerSchema.encode(
  { variant: 2, playerId: 1435, itemId: 737498 },
  buffer,
);

const instructionBuffer = buffer.slice(0, equipPlayerSchema.getSpan(buffer));
Once a buffer is properly created and the data serialized, all that’s left is building the transaction. This is similar to what you’ve done in previous lessons. The example below assumes that:
player,playerInfoAccount, andPROGRAM_IDare already defined somewhere outside the code snippetplayeris a user’s public keyplayerInfoAccountis the public key of the account where inventory changes will be writtenSystemProgramwill be used in the process of executing the instruction.
import * as borsh from "@coral-xyz/borsh";
import * as web3 from "@solana/web3.js";

const equipPlayerSchema = borsh.struct([
  borsh.u8("variant"),
  borsh.u16("playerId"),
  borsh.u256("itemId"),
]);

const buffer = Buffer.alloc(1000);
equipPlayerSchema.encode(
  { variant: 2, playerId: 1435, itemId: 737498 },
  buffer,
);

const instructionBuffer = buffer.slice(0, equipPlayerSchema.getSpan(buffer));

const endpoint = web3.clusterApiUrl("devnet");
const connection = new web3.Connection(endpoint);

const transaction = new web3.Transaction();
const instruction = new web3.TransactionInstruction({
  keys: [
    {
      pubkey: player.publicKey,
      isSigner: true,
      isWritable: false,
    },
    {
      pubkey: playerInfoAccount,
      isSigner: false,
      isWritable: true,
    },
    {
      pubkey: web3.SystemProgram.programId,
      isSigner: false,
      isWritable: false,
    },
  ],
  data: instructionBuffer,
  programId: PROGRAM_ID,
});

transaction.add(instruction);

web3.sendAndConfirmTransaction(connection, transaction, [player]).then(txid => {
  console.log(
    `Transaction submitted: https://explorer.solana.com/tx/${txid}?cluster=devnet`,
  );
});
Lab #
Let’s practice this together by building a Movie Review app that lets users submit a movie review and have it stored on Solana’s network. We’ll build this app a little bit at a time over the next few lessons, adding new functionality each lesson.
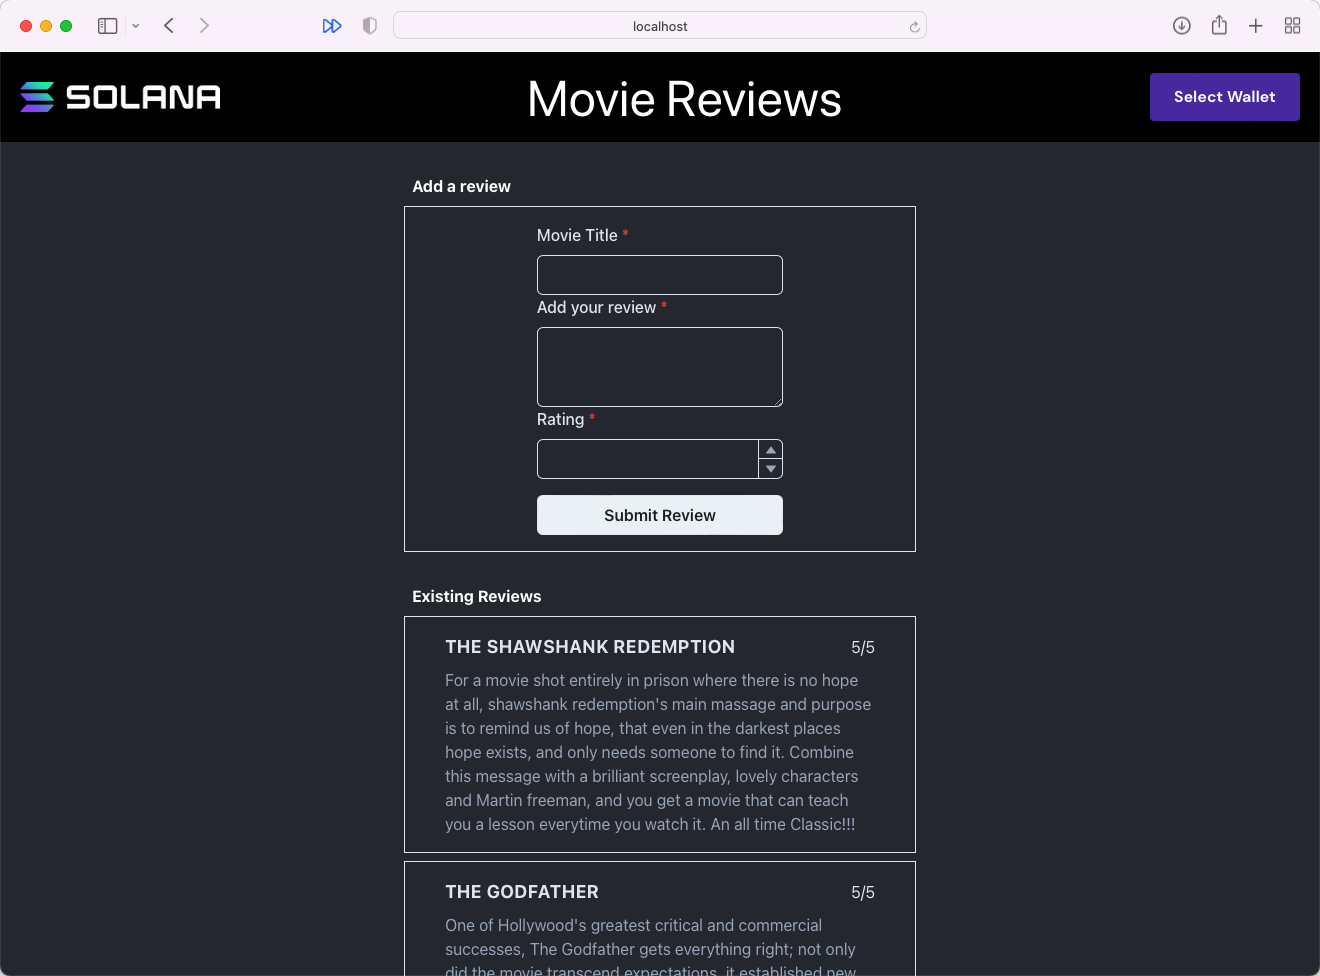 Movie review frontend
Here's a quick diagram of the program we'll build:
 Solana stores data items in PDAs, which can be found using their seeds
The public key of the Solana program we’ll use for this application is
CenYq6bDRB7p73EjsPEpiYN7uveyPUTdXkDkgUduboaN.
1. Download the starter code #
Before we get started, go ahead and download the starter code.
The project is a fairly simple Next.js application. It includes the
WalletContextProvider we created in the Wallets lesson, a Card component for
displaying a movie review, a MovieList component that displays reviews in a
list, a Form component for submitting a new review, and a Movie.ts file that
contains a class definition for a Movie object.
Note that for now, the movies displayed on the page when you run npm run dev
are mocks. In this lesson, we’ll focus on adding a new review but we won’t be
able to see that review displayed. Next lesson, we’ll focus on deserializing
custom data from onchain accounts.
2. Create the buffer layout #
Remember that to properly interact with a Solana program, you need to know how it expects data to be structured. Our Movie Review program expects instruction data to contain:
variantas an unsigned, 8-bit integer representing which instruction should be executed (in other words which function on the program should be called).titleas a string representing the title of the movie that you are reviewing.ratingas an unsigned, 8-bit integer representing the rating out of 5 that you are giving to the movie you are reviewing.descriptionas a string representing the written portion of the review you are leaving for the movie.
Let’s configure a borsh layout in the Movie class. Start by importing
@coral-xyz/borsh. Next, create a borshInstructionSchema property and set it
to the appropriate borsh struct containing the properties listed above.
import * as borsh from '@coral-xyz/borsh'

export class Movie {
  title: string;
  rating: number;
  description: string;

  ...

  borshInstructionSchema = borsh.struct([
    borsh.u8('variant'),
    borsh.str('title'),
    borsh.u8('rating'),
    borsh.str('description'),
  ])
}
Keep in mind that order matters. If the order of properties here differs from how the program is structured, the transaction will fail.
3. Create a method to serialize data #
Now that we have the buffer layout set up, let’s create a method in Movie
called serialize() that will return a Buffer with a Movie object’s
properties encoded into the appropriate layout.
import * as borsh from '@coral-xyz/borsh'

export class Movie {
  title: string;
  rating: number;
  description: string;

  ...

  borshInstructionSchema = borsh.struct([
    borsh.u8('variant'),
    borsh.str('title'),
    borsh.u8('rating'),
    borsh.str('description'),
  ])

  serialize(): Buffer {
    const buffer = Buffer.alloc(1000)
    this.borshInstructionSchema.encode({ ...this, variant: 0 }, buffer)
    return buffer.slice(0, this.borshInstructionSchema.getSpan(buffer))
  }
}
The method shown above first creates a large enough buffer for our object, then
encodes { ...this, variant: 0 } into the buffer. Because the Movie class
definition contains 3 of the 4 properties required by the buffer layout and uses
the same naming, we can use it directly with the spread operator and just add
the variant property. Finally, the method returns a new buffer that leaves off
the unused portion of the original.
4. Send a transaction when the user submits the form #
Now that we have the building blocks for the instruction data, we can create and
send the transaction when a user submits the form. Open Form.tsx and locate
the handleTransactionSubmit function. This gets called by handleSubmit each
time a user submits the Movie Review form.
Inside this function, we’ll be creating and sending the transaction that contains the data submitted through the form.
Start by importing @solana/web3.js and importing useConnection and
useWallet from @solana/wallet-adapter-react.
import { FC } from "react";
import { Movie } from "../models/Movie";
import { useState } from "react";
import {
  Box,
  Button,
  FormControl,
  FormLabel,
  Input,
  NumberDecrementStepper,
  NumberIncrementStepper,
  NumberInput,
  NumberInputField,
  NumberInputStepper,
  Textarea,
} from "@chakra-ui/react";
import * as web3 from "@solana/web3.js";
import { useConnection, useWallet } from "@solana/wallet-adapter-react";
Next, before the handleSubmit function, call useConnection() to get a
connection object and call useWallet() to get publicKey and
sendTransaction.
import { FC } from 'react'
import { Movie } from '../models/Movie'
import { useState } from 'react'
import { Box, Button, FormControl, FormLabel, Input, NumberDecrementStepper, NumberIncrementStepper, NumberInput, NumberInputField, NumberInputStepper, Textarea } from '@chakra-ui/react'
import * as web3 from '@solana/web3.js'
import { useConnection, useWallet } from '@solana/wallet-adapter-react'

const MOVIE_REVIEW_PROGRAM_ID = 'CenYq6bDRB7p73EjsPEpiYN7uveyPUTdXkDkgUduboaN'

export const Form: FC = () => {
  const [title, setTitle] = useState('')
  const [rating, setRating] = useState(0)
  const [message, setMessage] = useState('')

  const { connection } = useConnection();
  const { publicKey, sendTransaction } = useWallet();

  const handleSubmit = (event: any) => {
    event.preventDefault()
    const movie = new Movie(title, rating, description)
    handleTransactionSubmit(movie)
  }

  ...
}
Before we implement handleTransactionSubmit, let’s talk about what needs to be
done. We need to:
- Check that
publicKeyexists to ensure that the user has connected their wallet. - Call
serialize()onmovieto get a buffer representing the instruction data. - Create a new
Transactionobject. - Get all of the accounts that the transaction will read or write.
- Create a new
Instructionobject that includes all of these accounts in thekeysargument, includes the buffer in thedataargument, and includes the program’s public key in theprogramIdargument. - Add the instruction from the last step to the transaction.
- Call
sendTransaction, passing in the assembled transaction.
That’s quite a lot to process! But don’t worry, it gets easier the more you do it. Let’s start with the first 3 steps from above:
const handleTransactionSubmit = async (movie: Movie) => {
  if (!publicKey) {
    alert("Please connect your wallet!");
    return;
  }

  const buffer = movie.serialize();
  const transaction = new web3.Transaction();
};
The next step is to get all of the accounts that the transaction will read or
write. In past lessons, the account where data will be stored has been given to
you. This time, the account’s address is more dynamic, so it needs to be
computed. We’ll cover this in-depth in the next lesson, but for now, you can use
the following, where pda is the address to the account where data will be
stored:
const [pda] = await web3.PublicKey.findProgramAddress(
  [publicKey.toBuffer(), Buffer.from(movie.title)],
  new web3.PublicKey(MOVIE_REVIEW_PROGRAM_ID),
);
In addition to this account, the program will also need to read from
SystemProgram, so our array needs to include web3.SystemProgram.programId as
well.
With that, we can finish the remaining steps:
const handleTransactionSubmit = async (movie: Movie) => {
  if (!publicKey) {
    alert("Please connect your wallet!");
    return;
  }

  const buffer = movie.serialize();
  const transaction = new web3.Transaction();

  const [pda] = await web3.PublicKey.findProgramAddress(
    [publicKey.toBuffer(), new TextEncoder().encode(movie.title)],
    new web3.PublicKey(MOVIE_REVIEW_PROGRAM_ID),
  );

  const instruction = new web3.TransactionInstruction({
    keys: [
      {
        pubkey: publicKey,
        isSigner: true,
        isWritable: false,
      },
      {
        pubkey: pda,
        isSigner: false,
        isWritable: true,
      },
      {
        pubkey: web3.SystemProgram.programId,
        isSigner: false,
        isWritable: false,
      },
    ],
    data: buffer,
    programId: new web3.PublicKey(MOVIE_REVIEW_PROGRAM_ID),
  });

  transaction.add(instruction);

  try {
    let txid = await sendTransaction(transaction, connection);
    console.log(
      `Transaction submitted: https://explorer.solana.com/tx/${txid}?cluster=devnet`,
    );
  } catch (e) {
    alert(JSON.stringify(e));
  }
};
And that’s it! You should now be able to use the form on the site to submit a movie review. While you won’t see the UI update to reflect the new review, you can look at the transaction’s program logs on Solana Explorer to see that it was successful.
If you need a bit more time with this project to feel comfortable, have a look at the complete solution code.
Challenge #
Now it’s your turn to build something independently. Create an application that
lets students of this course introduce themselves! The Solana program that
supports this is at HdE95RSVsdb315jfJtaykXhXY478h53X6okDupVfY9yf.
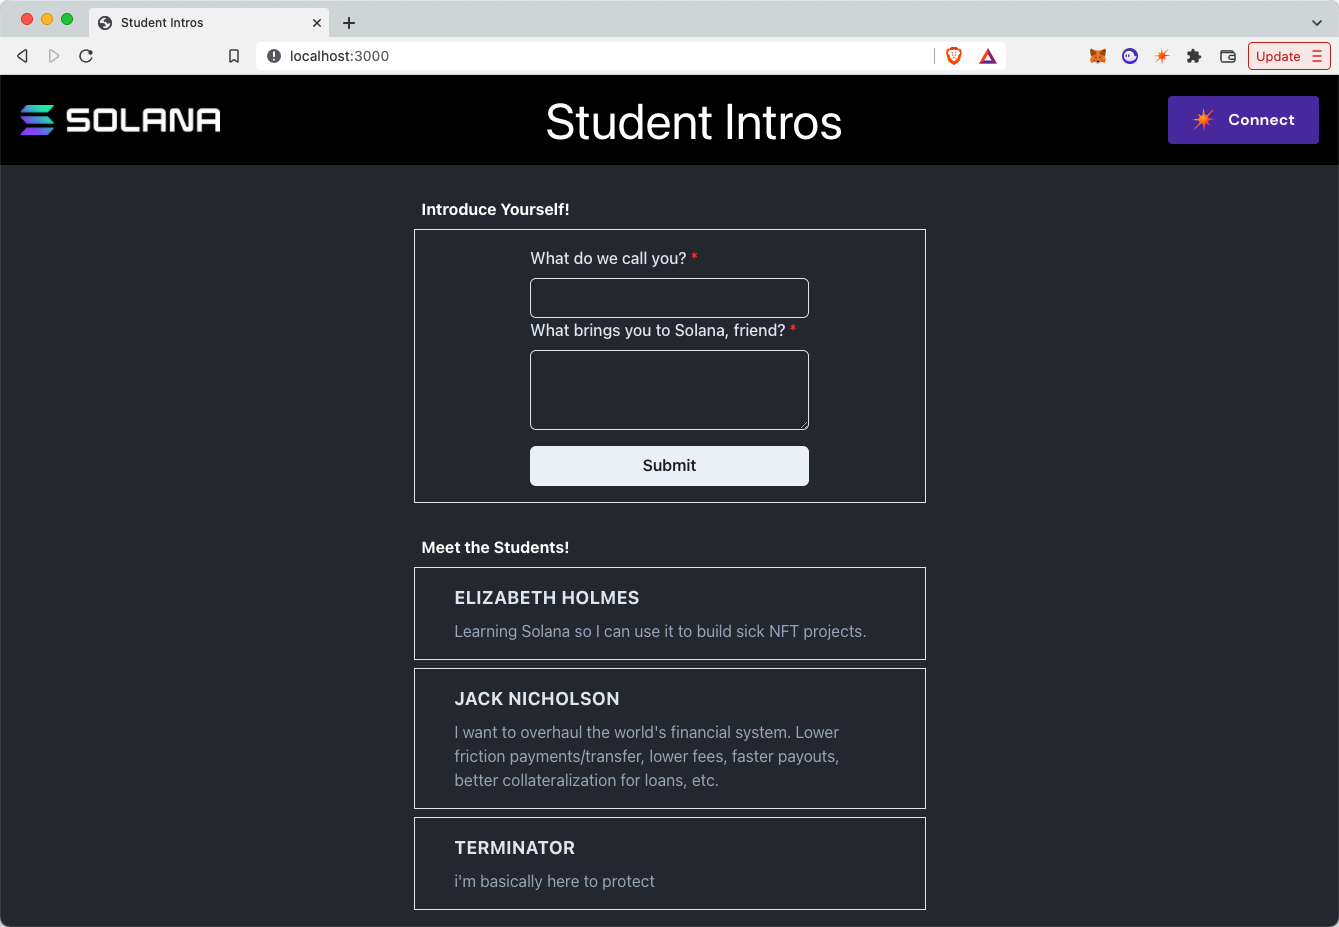 Student Intros frontend
- You can build this from scratch or you can download the starter code.
- Create the instruction buffer layout in
StudentIntro.ts. The program expects instruction data to contain:variantas an unsigned, 8-bit integer representing the instruction to run (should be 0).nameas a string representing the student's name.messageas a string representing the message the student is sharing about their Solana journey.
- Create a method in
StudentIntro.tsthat will use the buffer layout to serialize aStudentIntroobject. - In the
Formcomponent, implement thehandleTransactionSubmitfunction so that it serializes aStudentIntro, builds the appropriate transaction and transaction instructions, and submits the transaction to the user's wallet. - You should now be able to submit introductions and have the information stored onchain! Be sure to log the transaction ID and look at it in Solana Explorer to verify that it worked.
If you get stumped, you can check out the solution code.
Feel free to get creative with these challenges and take them even further. The instructions aren't here to hold you back!